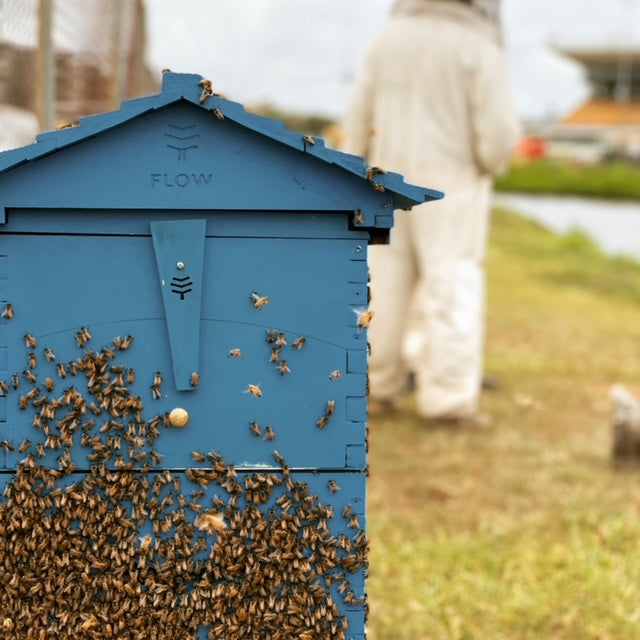
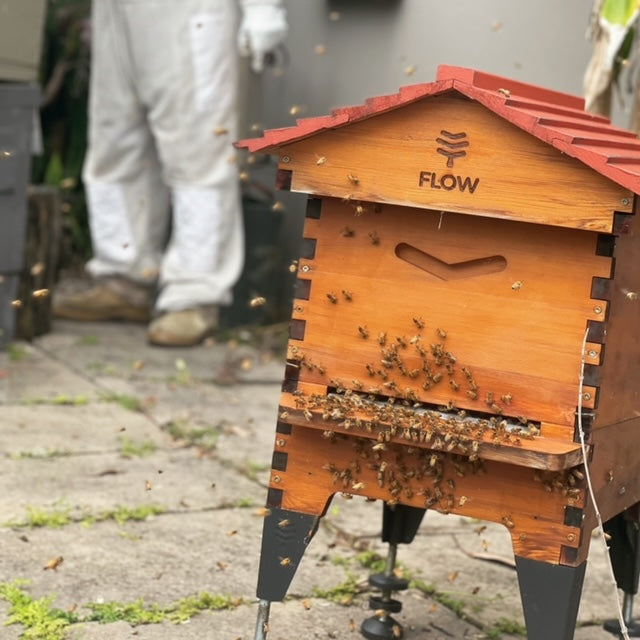
At every event we do I'm always asked about our beeswax and how to make beeswax food wraps. This is the recipe that I have used myself, when I make my own wraps to use. I use unbleached calico as I love the look of it, it can be purchased from Spotlight. They also have a large selection of 'bee' inspired printed cotton if you are looking for something a little more fun?!
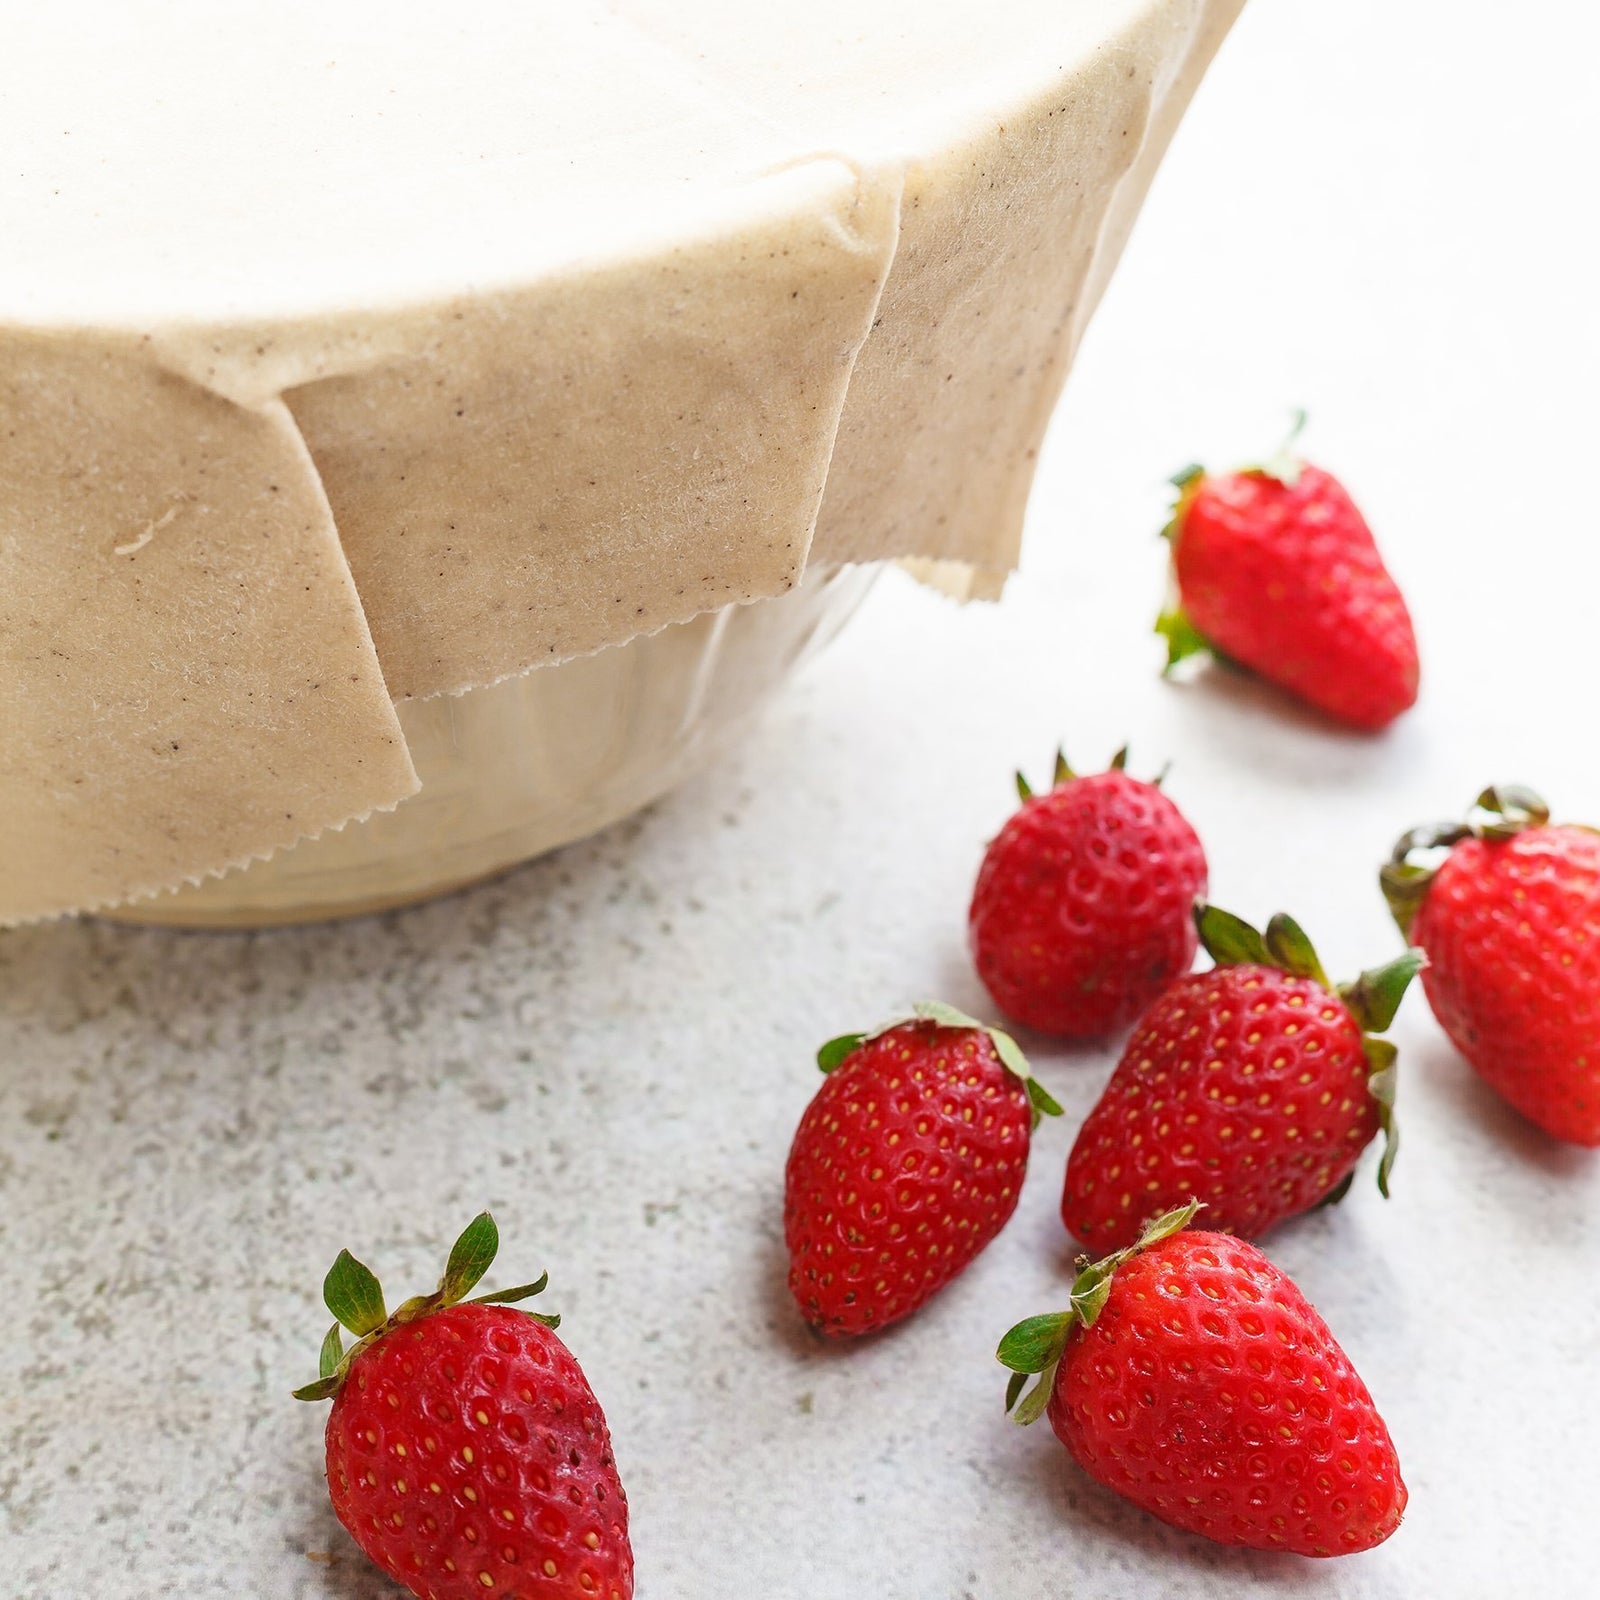
This easy recipe uses beeswax, resin and jojoba oil, to create a pliable beeswax wrap to use in place of single use plastic cling wrap. Use them to wrap sandwiches and rolls, cover plates and bowls, leftover and much more.
Find Two Busy Bees Honey reusable beeswax wrap recipe, links to where to purchase the ingredients, measurements for the ingredients, the method and how to use below.
Pine Resin or Gum Rosin can be purchased online from: Biome
Pure refined Beeswax can be purchased online from: Two Busy Bees Honey
Ingredients
- Cotton fabric cut to desired size (this recipe makes enough to approx. cover four 25cm x 25cm pieces)
- 50g beeswax
- 25g gum rosin (pine resin)*
- 2 tbsp jojoba oil
You will also need a mason jar, saucepan, spoon to stir, oven, oven tray, baking or parchment paper, a basting brush (keep this brush for this purpose only), clothes hanger for drying, pegs for hanging).
*Gum rosin is available in a powdered form or in chunks. They are both the same. The powdered form will just dissolve faster. Gum rosin is a brittle, crystal like, amber substance.
Method
- Preheat your oven to 150 degrees C.
- Place the beeswax, rosin and jojoba oil into a mason jar and set that mason jar into a saucepan filled with about 6cm of water. Place the saucepan onto the stove, turn to medium heat and melt the contents of the jar, stirring occasionally. Resin takes longer to melt than beeswax, so it’s best to have the heat on medium to high heat initially to speed up the process. The water in the saucepan should be simmering.
- Lay lay baking or parchment paper over the oven tray and place your fabric flat on top.
- Once the beeswax mixture has completely melted, use a spoon and drizzle the mixture evenly over the fabric.
- Place the tray into the pre-heated oven for about 2 minutes to reheat. This is necessary for ease of spreading in the next step.
- Carefully pull the oven tray out and use your basting brush to spread the mixture quite thick and evenly over the fabric. Don’t forget the edges and corners.
- Pop it back into the oven for a minute to ‘melt out’ and any uneven bumps or clumps.
- Remove from oven and hang up with pegs on a hanger to let set and dry, your beeswax wrap will dry very quickly. You will end up with a fantastic reusable food wrap with excellent gripping power.
How To Use
These reusable beeswax wraps are an excellent alternative to plastic cling wrap and zip lock bags. Wrap up cut up fruit and veggies, sandwiches and rolls, and cover plates and bowls.
- To store, fold neatly and keep in a cool dry place such as a kitchen drawer.
- To clean, wipe down after use with a damp cloth and allow to air dry.
- To wash, use a mild natural detergent in cool water. Pat dry with a clean tea towel and air dry. Avoid warm and hot water as it will melt the wax.
- Not suitable for the dishwasher or washing machine.
- Do not heat or microwave.
- Do not use with raw meat.
- Keep out of direct sunlight.
Please note: as our beeswax is pure, it has a yellow tint. Keep in mind that your finished result will also have a slightly yellow tint as well. Choose fabric with colour if you wish to avoid this to a point.
If you feel your wax wraps are too sticky, use a little less pine resin next time.


